- Thread starter
- #1
200lbhockeyplayer
Active member
- Aug 10, 2008
- 11,049
- 2
It's been a white since I've posted a custom or a custom "how to" so this should be an appropriate "knock out two birds with one stone" approach.
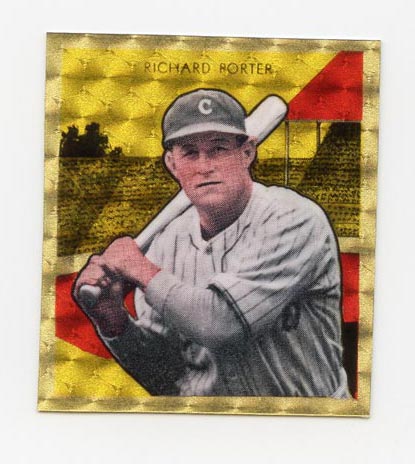
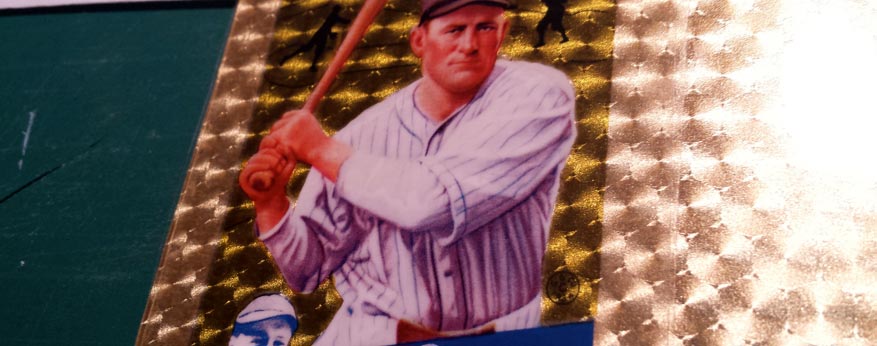
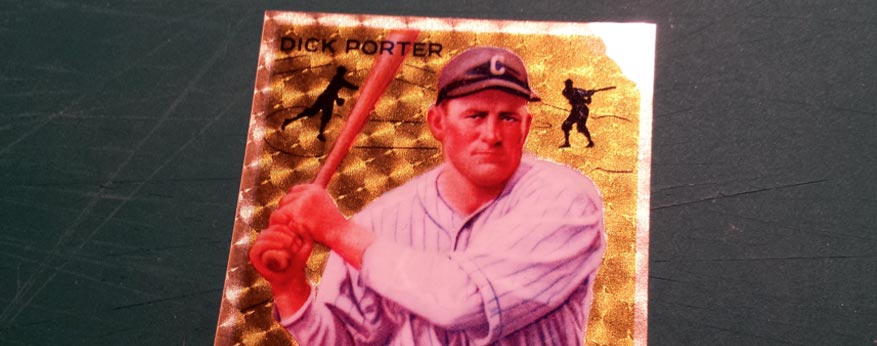
As a lot of you already know, Dick Porter (an old family friend of my father and grandfather) had a mere two main cards from his playing days - 1933 Tattoo Orbit and 1934 Goudey. The Goudey is a classic, so why not revamp it in Superfractor style...while keeping the integrity of the legendary set.
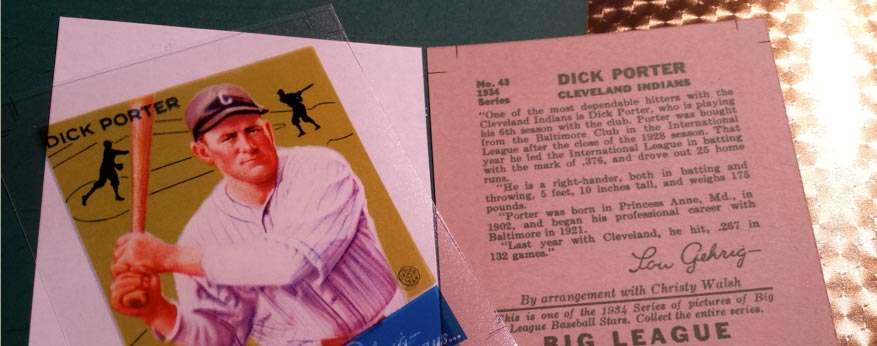
The end result...
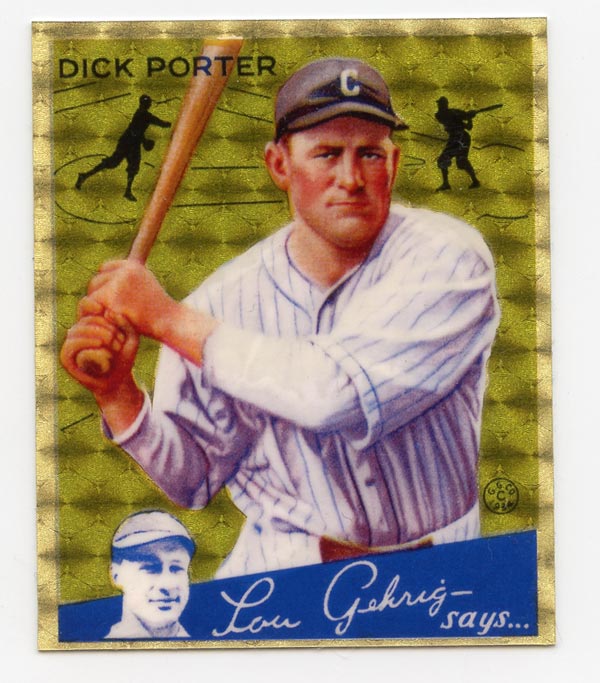
So, how was it done in less than 15 minutes?
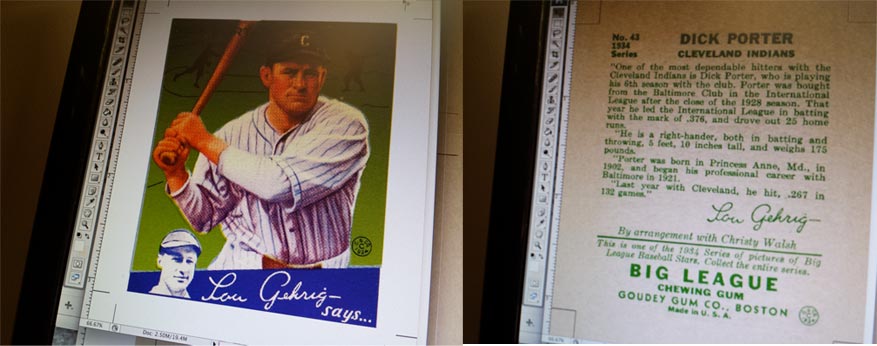
1. Your files, front and back (assuming you're making a standard two-sided card)
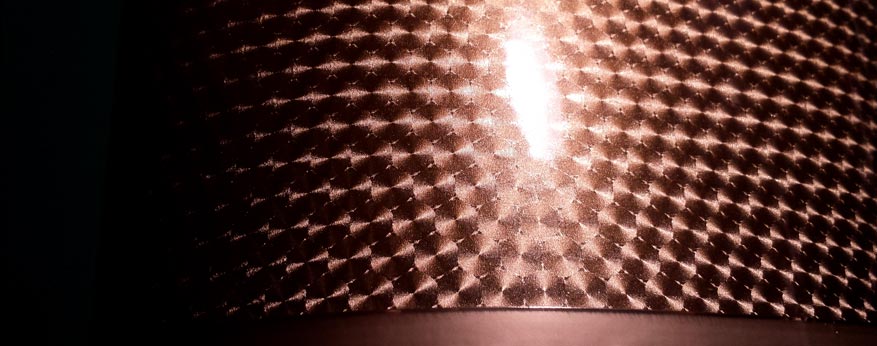
2. Superfractor sticker vinyl (available on Ebay or a local sign shop)
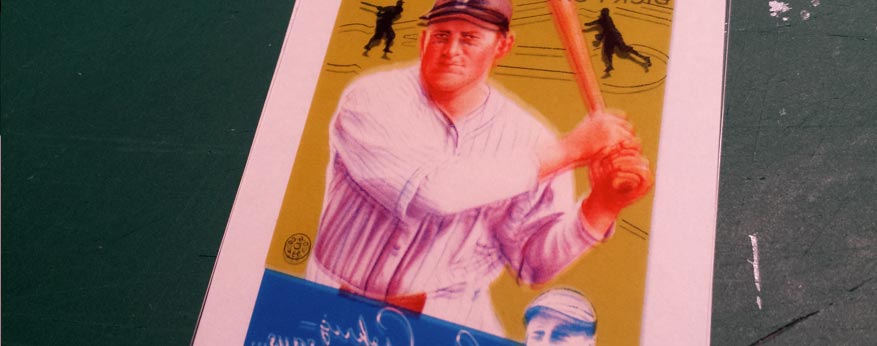
3. Print the front image in reverse on a clear acetate or resin using a standard inkjet printer
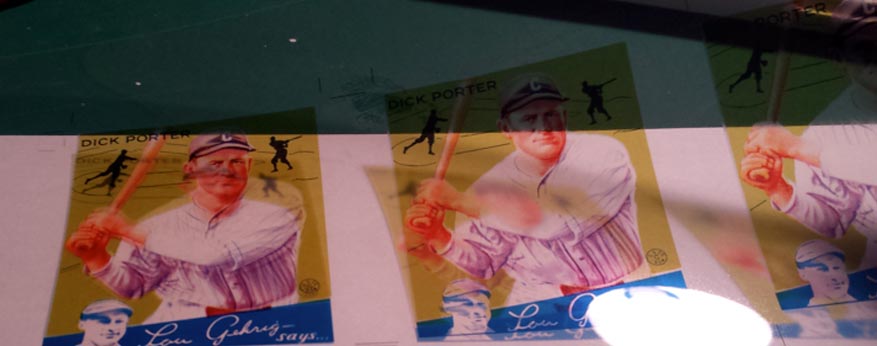
4. Flip it over so that the printed side is facing you
5. Knock out the player (or whatever else desired) with a white paint pen
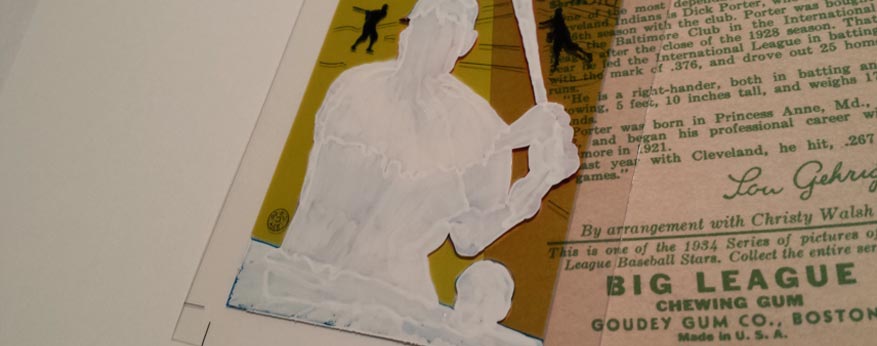
6. The main three components ready to be joined
7. After adhering the clear printed layer to the vinyl sticker using double-sided adhesive acetate, flatten as completely as possible with pressure (or cold lamination machine if available).
8. Adhere the back of the card to the peeled vinyl sticker backing. Cut to size. Flatten as completely as possible to remove any bubbles or adhesive marks. Poof. Magic. A Superfractor.
Now, obviously this is not the easiest of ways to do it, nor is this the way that the manufacturers do it, but the concept is the same...and virtually anyone can do it at home with a few bucks in materials.
The step with the most amount of options is the printing and the knockout. With a solvent printer, you can print an opaque white, therefore eliminating the knockout step. You can also create a dry transfer of the knockout or die-cut white vinyl for the knockout. But, with a relatively steady hand, you can paint it easy enough with great results.
The above can be applied to any type of vinyl or surface. If you're going to do a completely clear acetate style card, I'd recommend creating a dry transfer and applying it as it looks the most clean. I did some business cards for a friend using dry transfer and 2mm acetate and they looked awesome.
As a lot of you already know, Dick Porter (an old family friend of my father and grandfather) had a mere two main cards from his playing days - 1933 Tattoo Orbit and 1934 Goudey. The Goudey is a classic, so why not revamp it in Superfractor style...while keeping the integrity of the legendary set.
The end result...
So, how was it done in less than 15 minutes?
1. Your files, front and back (assuming you're making a standard two-sided card)
2. Superfractor sticker vinyl (available on Ebay or a local sign shop)
3. Print the front image in reverse on a clear acetate or resin using a standard inkjet printer
4. Flip it over so that the printed side is facing you
5. Knock out the player (or whatever else desired) with a white paint pen
6. The main three components ready to be joined
7. After adhering the clear printed layer to the vinyl sticker using double-sided adhesive acetate, flatten as completely as possible with pressure (or cold lamination machine if available).
8. Adhere the back of the card to the peeled vinyl sticker backing. Cut to size. Flatten as completely as possible to remove any bubbles or adhesive marks. Poof. Magic. A Superfractor.
Now, obviously this is not the easiest of ways to do it, nor is this the way that the manufacturers do it, but the concept is the same...and virtually anyone can do it at home with a few bucks in materials.
The step with the most amount of options is the printing and the knockout. With a solvent printer, you can print an opaque white, therefore eliminating the knockout step. You can also create a dry transfer of the knockout or die-cut white vinyl for the knockout. But, with a relatively steady hand, you can paint it easy enough with great results.
The above can be applied to any type of vinyl or surface. If you're going to do a completely clear acetate style card, I'd recommend creating a dry transfer and applying it as it looks the most clean. I did some business cards for a friend using dry transfer and 2mm acetate and they looked awesome.


")